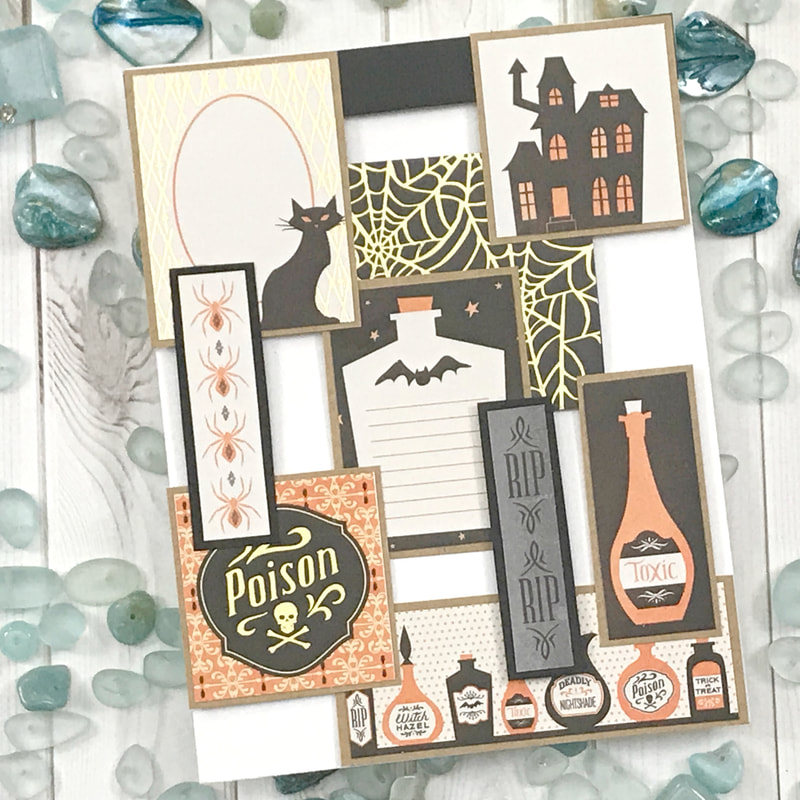
 Hello Everyone! For today's project let's make an open faced card front, and only using supplies we already have in our stash and no fancy gadgets! I am going to use one my 6 x 6 paper pads I have had for awhile sitting in my stash! I used one of the sheets with the cut outs and then matted them onto a solid piece of kraft or black card stock. One they were ready A cut a piece of scratch card stock at 4 1/4 in x 5 1/2, the size of our card base and started placing my matted images around making sure there was open space in between some of them. Once they were set the glueing commenced! My card base was cut 4 1/4 in x 6 in scored at 5 1/2 in. This tab is what I connected my card front to. I cut a piece of the patter paper with a great web design and made sure my sentiment panel sat inside the card just behind the panel! 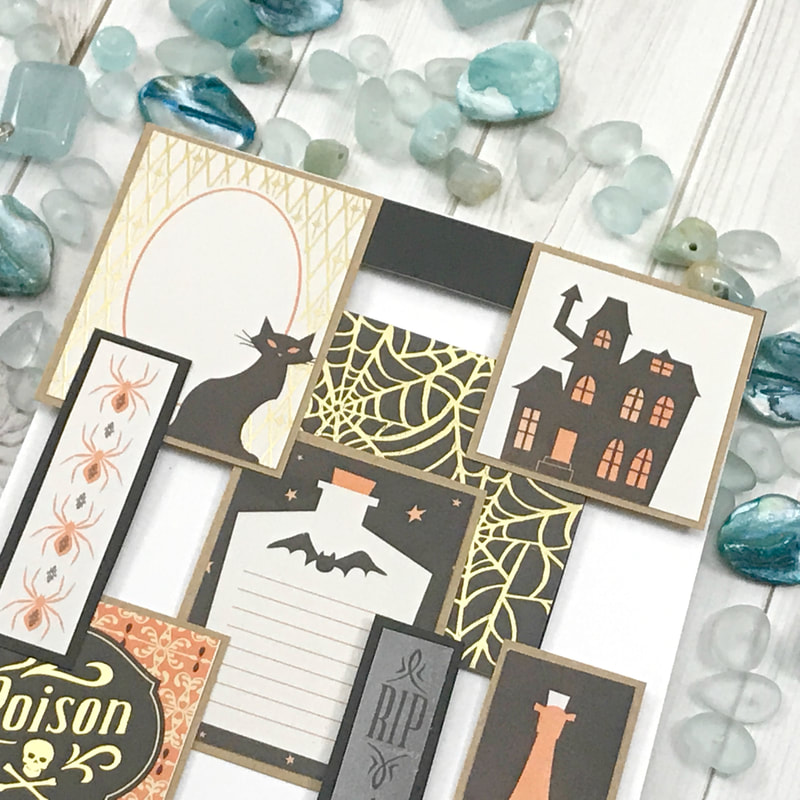 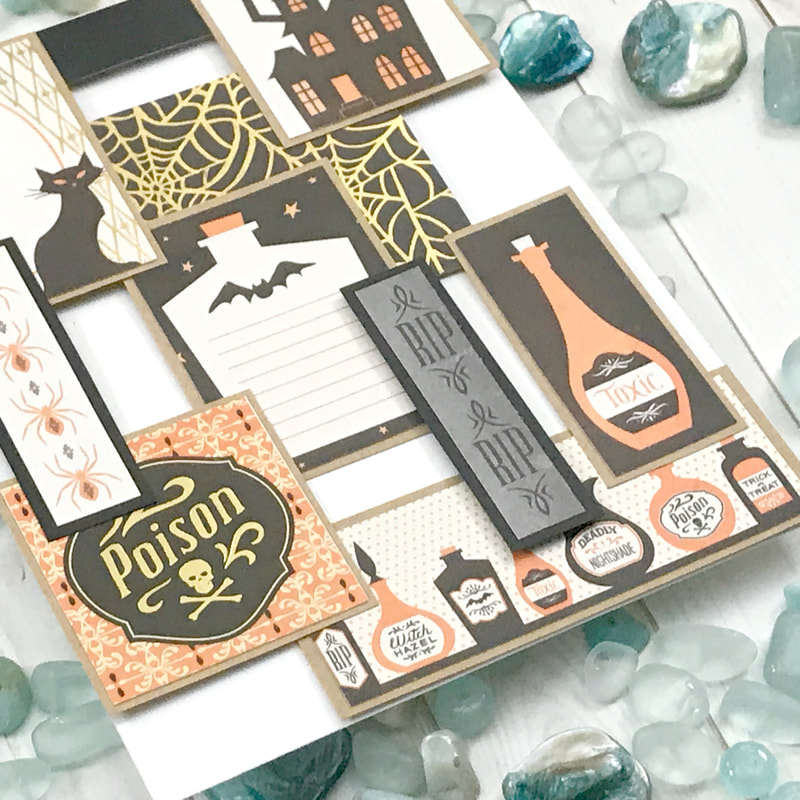 More crafty details as well as a full list of supplies used for this project, can be found in the video below! When you are done watching the video, and want to see more, CLICK HERE to go to my YouTube Channel ... Don’t’ forget to LIKE and SUBSCRIBE to my channel! Always Remember... Be Inspired, ENJOY, LAUGH and ALWAYS BE CREATIVE! ~ Desiree
0 Comments
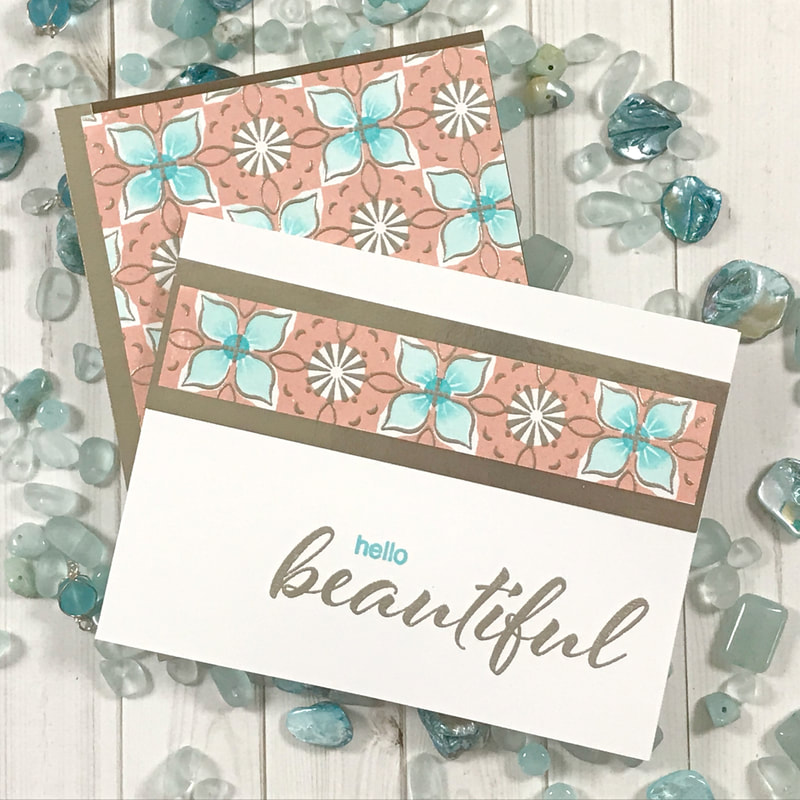 Hello Everyone and Welcome Back! For today its all about inspiration... Pull out what you already have in your stash and let's play! So let’s layer some stamps, but this time they are 6 x 6 background stamps! The two sets used are called Hugs Tile and Wishing Tile. Not only do you get a 6 x 6 back ground stamp but also some sentiments and accents that all work together! These sets are perfect on their own, but they work beautifully together! 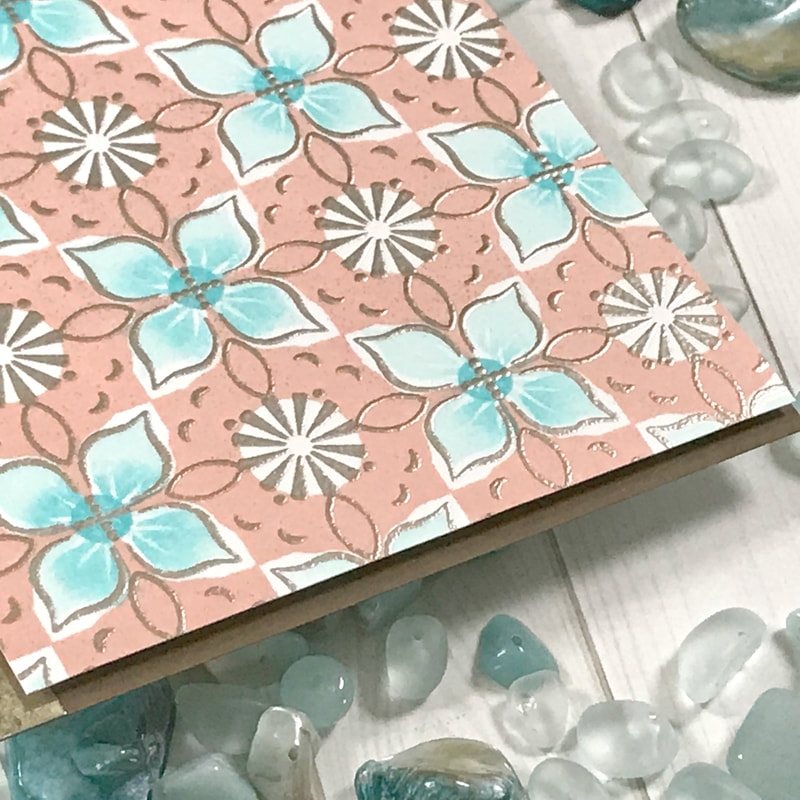 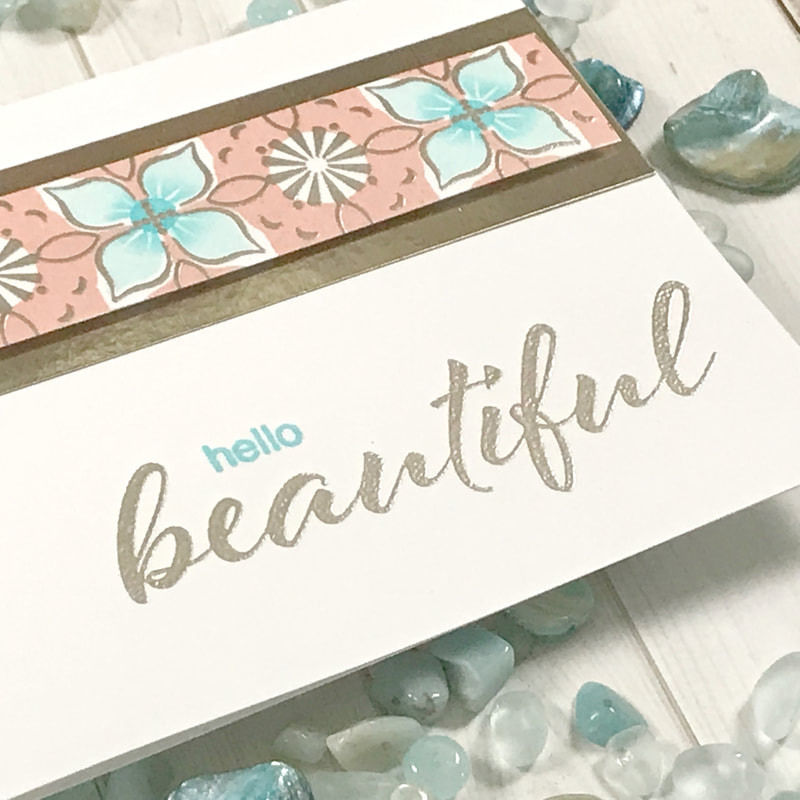 Here are some close ups of the finished cards! More crafty details as well as a full list of supplies used for this project, can be found in the video below! When you are done watching the video, and want to see more, CLICK HERE to go to my YouTube Channel ... Don’t’ forget to LIKE and SUBSCRIBE to my channel! Always Remember... Be Inspired, ENJOY, LAUGH and ALWAYS BE CREATIVE! ~ Desiree 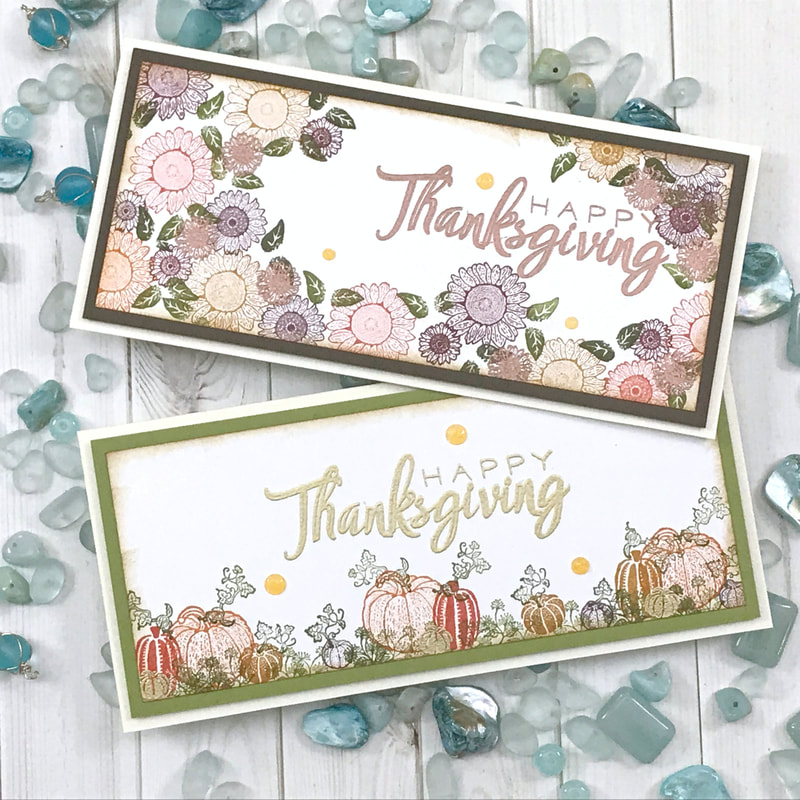 Hello Everyone! I am here with Rubber Stamp Tapestry making some Thanksgiving Cards using multiple peg stamp sets all together! I used my Embossing Powder for my sentiment and inks by Stampin' Up! for my fall images! Measurements: Card Base Cut 6 1/2 inches x 6 inches - score along the 6 inch side at 3 inches Stamp Mat Cut 2 3/4 inches x 6 1/4 inches Stamp Design Cut 2 1/2 inches x 6 inches More crafty details as well as a full list of supplies used for this project, can be found in the video below! When you are done watching the video, and want to see more, CLICK HERE to go to my YouTube Channel ... Don’t’ forget to LIKE and SUBSCRIBE to my channel! Always Remember... Be Inspired, ENJOY, LAUGH and ALWAYS BE CREATIVE! ~ Desiree 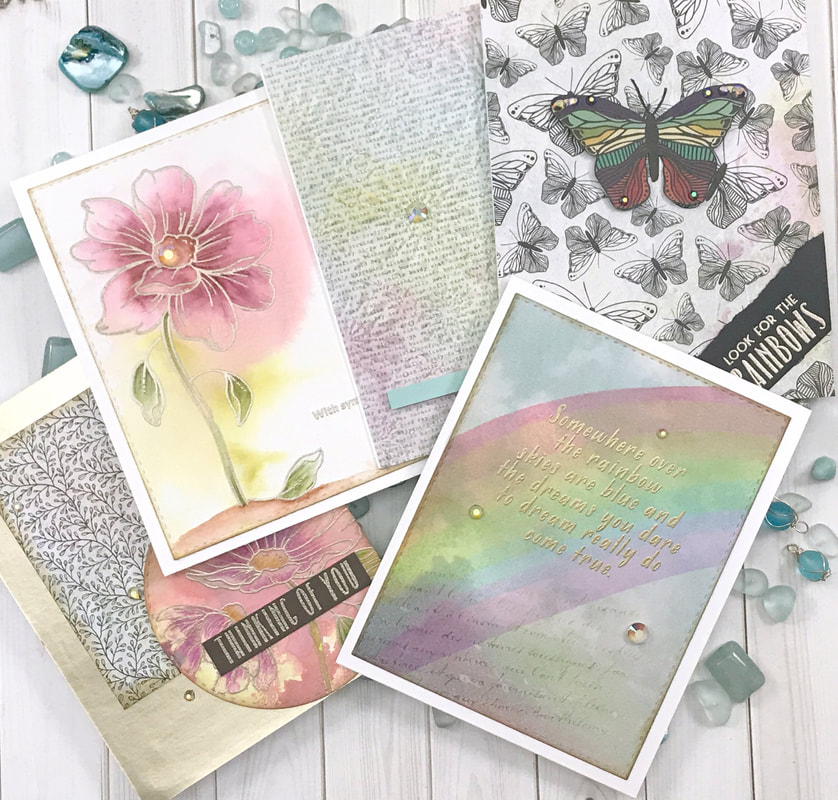 Hello Everyone! I am here today with Simon Says Stamp creating 5 cards from their September 2019 Card Kit! This month's theme is Look for the Rainbows! What a better way to spend the day, right? For this video I have some great techniques! I love just being able to pull everything out (having no room of course) and just seeing what our inks will do... Below are just some of the cards that we made today... 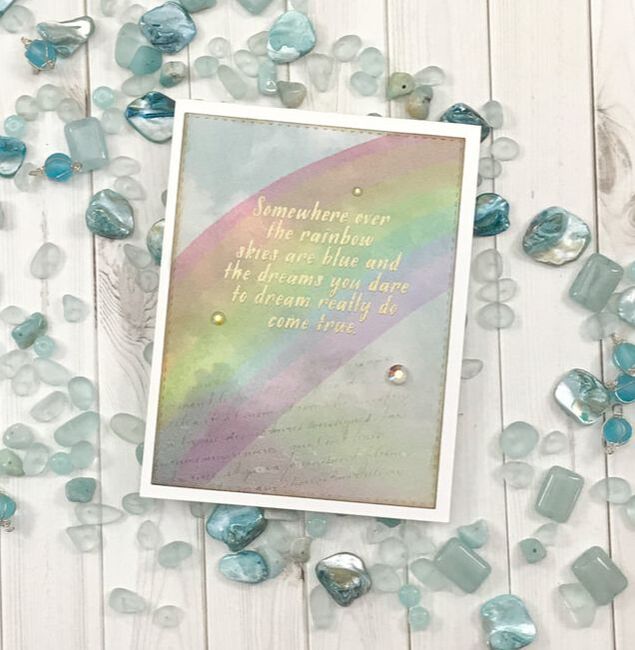 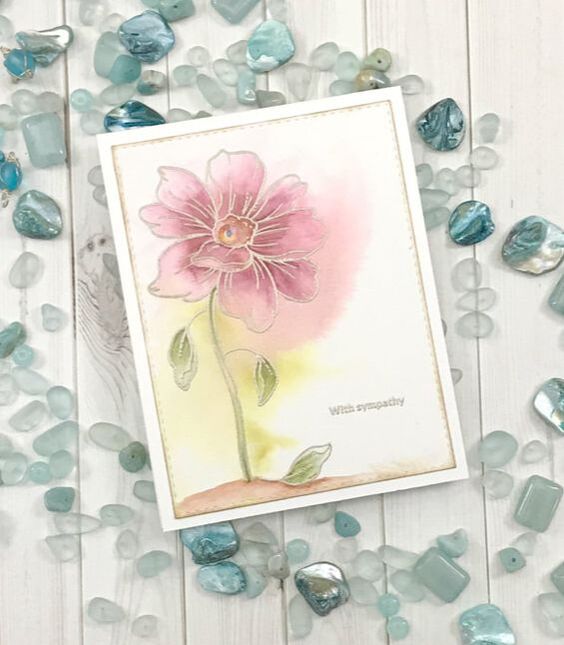 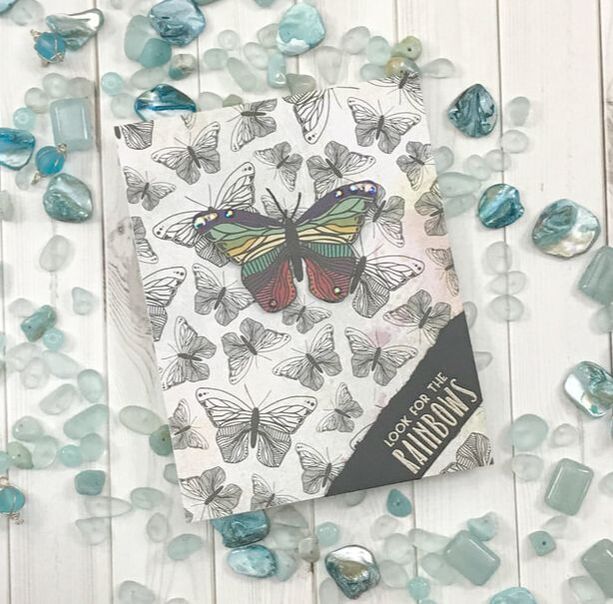 More crafty details as well as a full list of supplies used for this project, can be found in the video below! When you are done watching the video, and want to see more, CLICK HERE to go to my YouTube Channel ... Don’t’ forget to LIKE and SUBSCRIBE to my channel! Always Remember... Be Inspired, ENJOY, LAUGH and ALWAYS BE CREATIVE! ~ Desiree 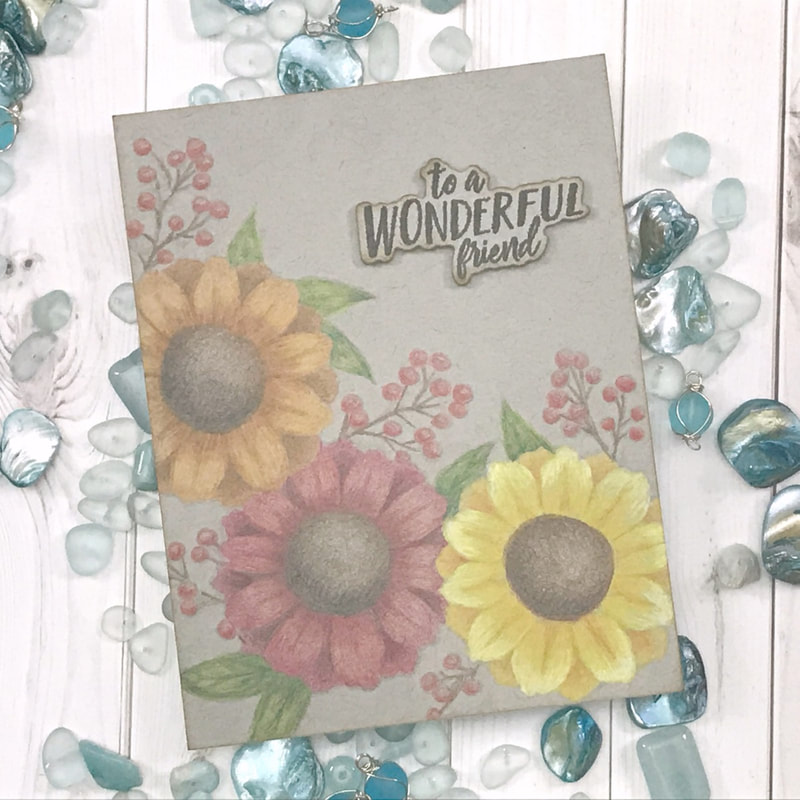 Hello Everyone! I am here today with Spellbinders/Fun Stampers Journey featuring their Stamp of the Month! When I saw this stamp set I immediately knew I was going to do some no line coloring with my colored pencils! I chose to play with my Blick Studio set! All the coloring is shown in the video below with many tips and tricks... OK with many ways I use my colored pencils... LOL 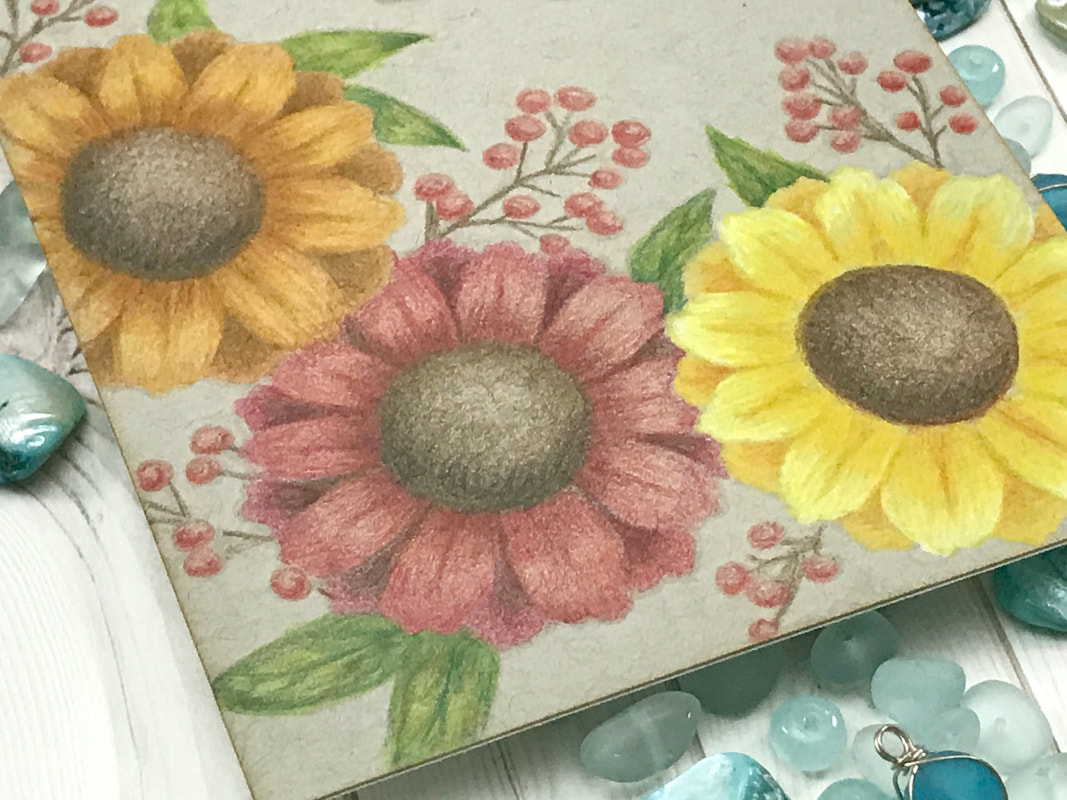 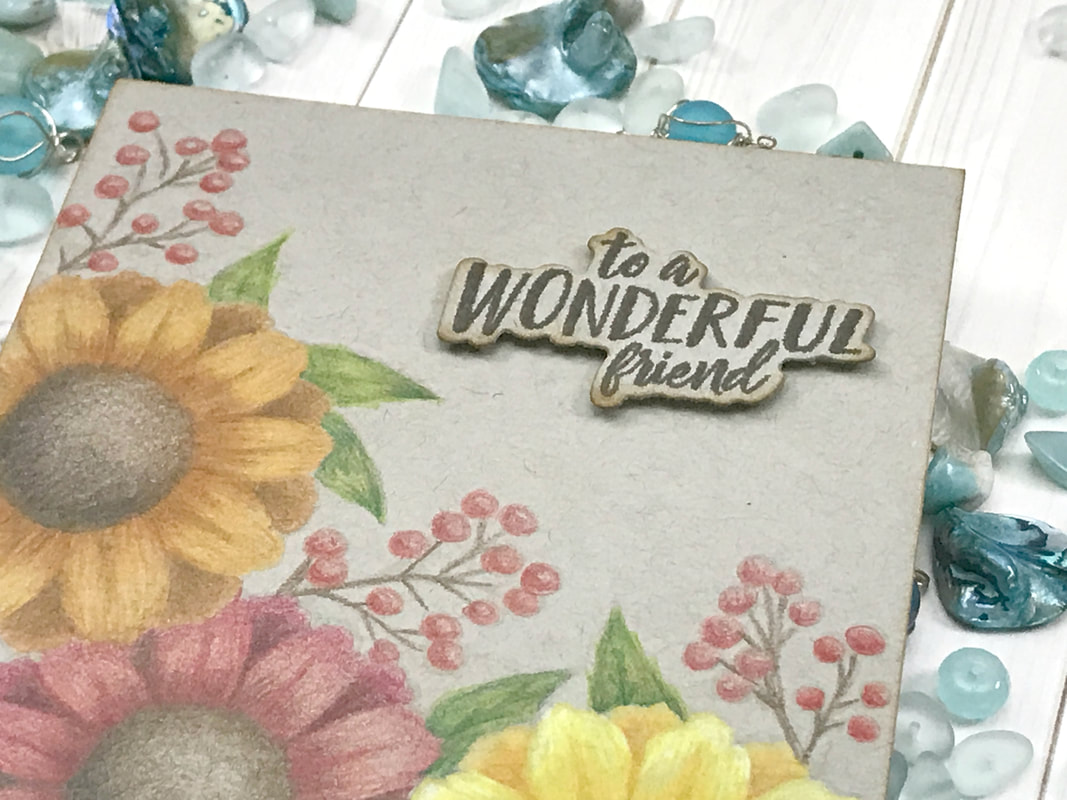 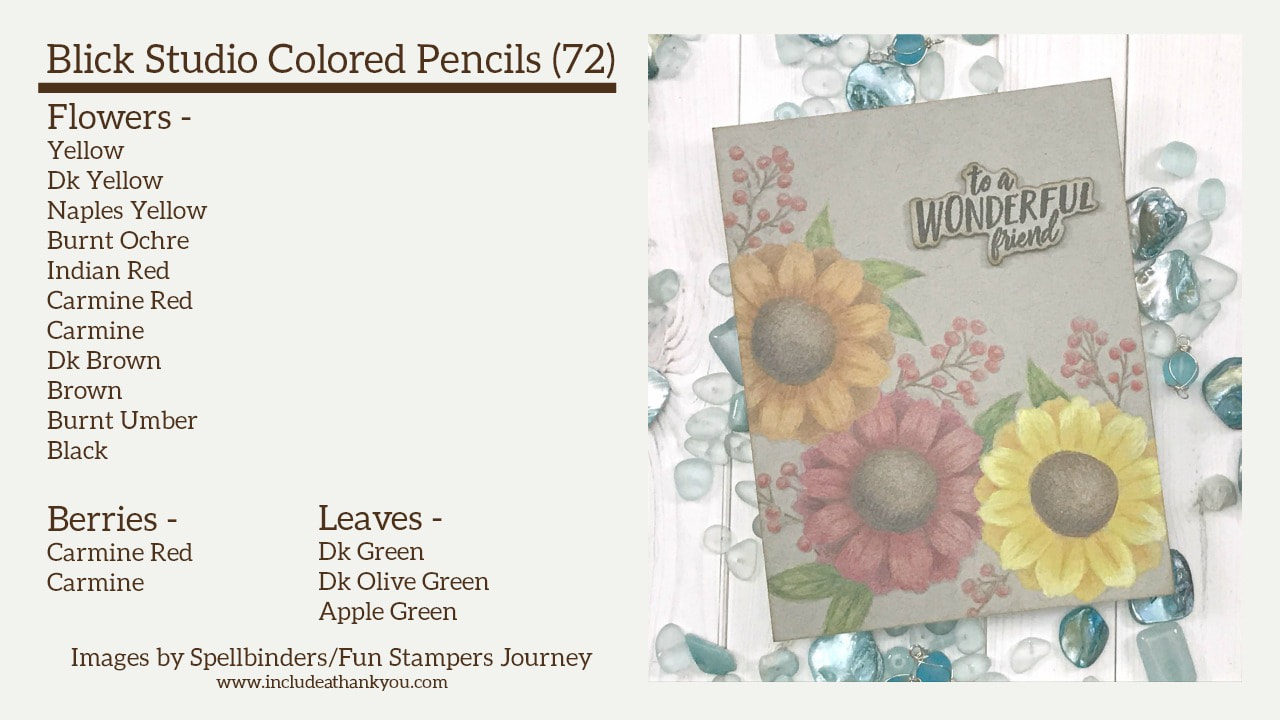 More crafty details as well as a full list of supplies used for this project, can be found in the video below! When you are done watching the video, and want to see more, CLICK HERE to go to my YouTube Channel ... Don’t’ forget to LIKE and SUBSCRIBE to my channel! Always Remember... Be Inspired, ENJOY, LAUGH and ALWAYS BE CREATIVE! ~ Desiree |

Getting Inky, suffering paper cuts, cutting using metal dies and stamping everything... These are just some of the fun and mischievous ways together we will create paper art! So stay and be motivated and inspired! ...and let me know what inspires your creativity!


Designer/Owner/Creator - Desiree
Well, hello there everyone! My name is Desiree Kuemmerle and I live in Lansdale, PA with the hubs of over 20 years and our furry bot Max! I am fluent in Crafting, a Master Paper Manipulator and a violator of all that makes sense...
Since about the time I spoke my first word, I’ve been an avid crafter alongside my mom and sister. You name the craft and I’ve probably bought it, collected it, tried it and finally stored it. Right now, getting Inky, suffering paper cuts, cutting with metal dies and stamping everything, whether it moves or not makes me smile and I must pass that along to everyone I know and don’t know! 
Inspiration Crafty Designs for...
 
DESIGN TEAM
Just a few Great places for all your CRAFTY needs!!!
 
Old Posts Never Die
November 2022
Search by Categories
All
|
 RSS Feed
SEARCH WEBSITEServiceslet's connect SOCIALLY! |
|
copyright!All content and designs included on my sites, social media and e-commerce webpages (i.e. Etsy, Facebook, ONLINE Courses and Website Store) are under COPYRIGHT © Desiree Kuemmerle, Include a Thank You, Desiree Tangles with Paper and Desiree Kuemmerle, CZT. Original artwork and designs are shared for your personal creations and inspiration only, unless otherwise stated by Desiree Kuemmerle.
© COPYRIGHT 2017-2024. by Desiree Tangles with Paper and (a.k.a.) Include a Thank You ...and then some! - Desiree Kuemmerle ALL RIGHTS RESERVED.
Include a Thank you
|